
Gradually transforming Dolly, The Nissan Figaro Part 2: Gutted to Gorgeous inside
- Nov 8, 2024
- 5 min read
Updated: Jan 3, 2025
Just before we took Dolly to Daniel Polish bloke end of Dock Road, to be primped and painted on the outside, I decided to gut the inside of the car.
Out came the front seats and the mats. Yes, I swore. Yes, I struggled with those big black bolts. Yes, I had to ask the mister to actually remove them from the car and put them into the conservatory.


Out came the centre console with more swearing and a broken finger nail.

The back seat was much easier and I carried that into the house in two parts myself.
The conservatory was now full and the dogs were having a whale of a time jumping from seat to chair to chair to seat.


Oh my life, the carpet. I honestly had to stand and look at it whilst it was in the car and call the mister to look too. The original colour for the Lapis Grey Figaro is greyish blue. Dolly’s carpet was more faded, patchy bluish sludge with areas of orange and brown rust, a few cigarette burn holes, and some grim looking bits that I still don’t want to think about. There went my idea of cleaning in situ and making good. Out came the carpet, off flew bits of trim, clips and goodness knows what else.
‘You’ll never get that back in’, said the mister. At that point, I didn’t care. I just couldn’t believe I’d been driving around in a car with its own eco system thriving under the mats.
The carpet
The carpet was washed and scrubbed with proper job carpet cleaner and a vax. Repeatedly. It started to look better but it was never going to be good enough so back onto the forums I went to look at hints and tips about dyeing carpets in a car.
I decided on Rit dye in ‘eggplant’ and bought three bottles which I diluted and put into a spray bottle. At first, and for a long time, I thought I’d made a huge mistake. Apparently, you don’t need much dye. After ‘not much dye’, I could still see the rust patches, stains and faded bits.

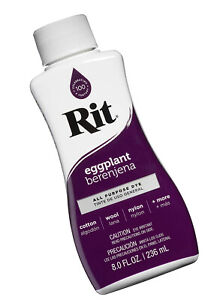
It took all my dye, lots of feeling downhearted and reassurance from the mister before I actually thought ‘Its not too bad’. It wasn’t quite the colour I wanted but it was a shade of purple so all good.
The carpet hung in the garage from the wooden rafters for weeks and weeks whilst Dolly spent time with Daniel getting her respray.
We have cameras in the garage to keep an eye on the chickens whose run backs onto the garage. A little bit of wind and the carpet set the cameras off repeatedly.
Hilarious, that moment when it looks like a dead body swinging from the roof of the garage or a dark ghost flailing towards the cameras. I thought so anyway.
Seats
So whilst the carpet was drying and between coats of aubergine spray dye, there were lots of other things to be done. The driver’s seat was scuffed. The passenger seat was water stained. The back seat was two different shades, the back cream and the seat grey with scuffs and scratches. The very helpful Figaro owners club website pointed me in the direction of the Leather Repair Company (www.leatherrepaircomapny.com) who do a whole kit specifically for the Figaro!
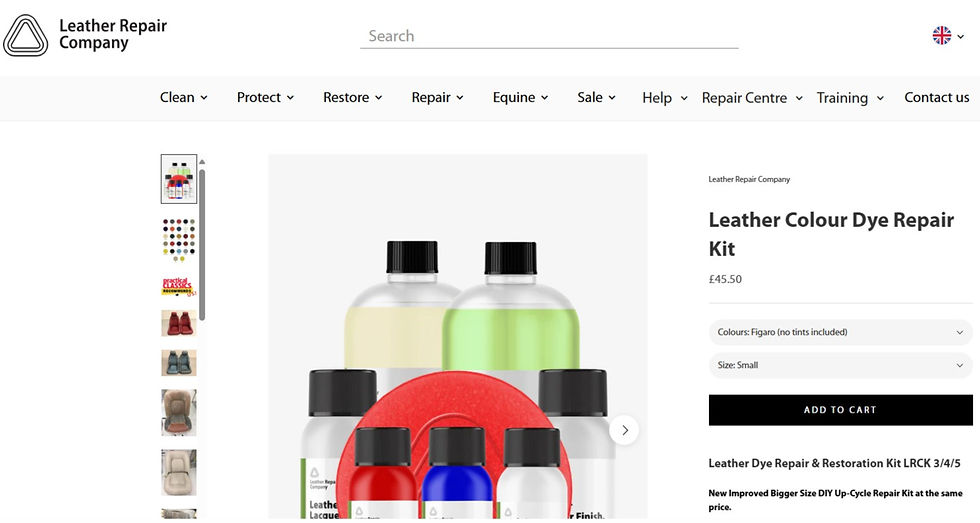
Marvellous – it can’t be that difficult, can it? All the people who’ve tried on the forums seem to think it’s easy and I’m not completely useless I don’t think.
It was difficult; far more difficult than I expected.
Now I’m not the most patient person, especially with myself but I followed the instructions carefully. I didn’t leave any steps out. I prepared exactly as it said. I took my time. I checked with the mister that I was doing it right. I shouted at the dogs to get off the seats repeatedly. My back ached; my knees were sore. I even painted the metal underneath the chairs and the bolts with black enamel paint.
The seats are vastly improved and that’s all I can say. Did I do a good job? No, not really, I’m very frustrated and cross to say. There are patchy bits. There are missed bits. There are bits where the seat stuck to something. However, I did it myself and it’s my car. I began this journey thinking I was going to restore the Dolly car to perfection. By this point, I’m happy if it looks ok 😊
Being a Lapis Grey car, the trim on the seats, the handbrake, the steering wheel and the gear thingy are all dark blue/grey to match the dashboard top. These I decided at this point are staying as they are. They look fine and they go perfectly well with the increasingly purple bits.
Bits and Bobs
Again before Dolly went to painted, I removed the wheel polos, the hockey sticks and the bonnet badge along with bits of trim from the inside that were removable (not just the bits that had flown off when removing the carpet).
The hockey sticks were scuffed so I decided to spray paint them.


Did you know that chrome paint is not chrome? It is just silver. And that’s not just one make of paint as I tried three different ones before I actually found someone online who said to not bother with chrome paint.
So, I had a brain wave. Or so I thought. Nail varnish! Chrome nails are a thing so I tried that. I now have four sparkly black hockey sticks upstairs in a drawer and a small hole in my bank account.
I took the new hockey sticks and the new bonnet badge (yes, I broke the other one, sigh) to Daniel Polish bloke end of Dock Road paint man. Annoyingly, the hockey sticks were scuffed during the ‘add them to the finished car’ stage so look just like the old ones but at least they are bolted on properly.

The new bonnet badge, I’m pleased to say, is perfectly placed on the bonnet. Again, the Facebook groups are a massive help and the bonnet badge was not new new just new to me at a reduced cost from a lovely helpful Figaro enthusiast.
The wheel trim polo thingamabobs. They’re apparently called wheel rings or wheel caps in Japan. The inner chrome caps are called wheel centre caps or cap disc wheel in Japan. Some people get rid of the polos completely and paint the wheel rims. Some people paint the polos different colours and some people put entirely different wheels on the car. I’ve seen alloys!


Before... during...and after.
The real paint colour code is WK3 but I picked up some paint from Halfords that said ‘Ford’ something or other and looked right – saving money here! I rubbed the polos down, primed them and spray painted them. They look fab.
Eyelids – an optional extra but an absolute necessary in my eyes and the eyes of Dolly. Off they came, scrubbed and cleaned to stunning perfection before going back onto the car.

The inner chrome wheel caps I cleaned and all was good. The polos and caps are easy to get off by carefully prising them off with a flat screwdriver. The clips are also easy to break so when I say carefully, I mean carefully. They go back on the same way – carefully.

Photograph from The Figaro Owners Club - so huge thanks and respect to them.
So, all the bits and bobs done that I can at present. What’s next? Surely nothing that major?


Comments